PAC-MAN DEMO
This was our demo of Illustrator. We used a picture of Pac-Man off of the web. To create the Pac-Man, I first changed the colour to yellow and used the pen tool to make an octagon, with a triangle mouth in the middle. Then, I used the pen curvature tool to make all of the points rounded. Moving onto the ghosts, I first made all of my colour swatches for the ghosts. Then, I dimmed the image to 50% then locked it. Using the pen tool, I added anchor points around the ghost to get the outline of it. I used the pen curvature tool to round out the points. Then, I used the shortcut 'CRTL + click + drag' to duplicate the ghost. I made three other ones and altered their colour. For the eyes, I used the pen tool to outline the eyes and used the pen curvature tool to round it out. I duplicated it and added it to all of the ghosts. For the iris, I did the same as the eye.
self portrait drawing
original version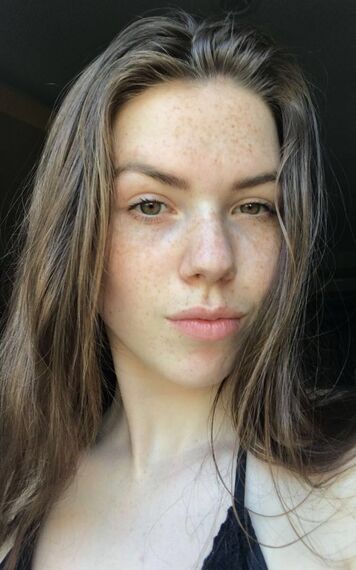
|
illustrator version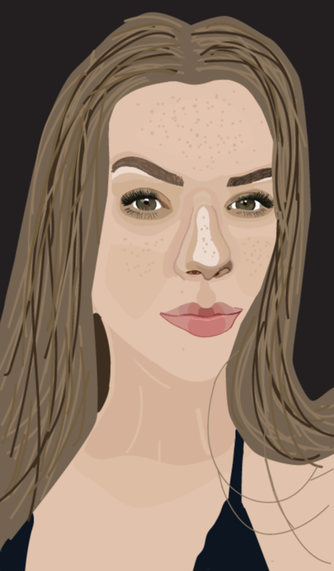
|
This was one of the most difficult projects I've encountered in this course. In total, there was 13 layers used to complete it.To begin my project, I started with the left eye. I first filled in the whites of the eyeball. Then, did the outline of the iris, then continued to fill it in by selecting colours with the eyedropper tool and using the brush tool to fill it in. There was a total of 7 different colour shades of brown, green, and blue used. Next, I filled in the pupil and the highlights just above the pupil. Continuing, I drew the eye outline with the appropriate colours. Next, I started to draw the top and bottom eyelashes in. I used a 1 pt. oval shaped brush to give the lashes a fuller and rounded look, compared to using a round brush which would only give me a straight, not as curved line. To complete the eye, I filled in the skin around it using 5 different skin tones. For the right eye, I did the exact same thing that I did for the left side. The next part I worked on was the eyebrows. I selected the 3 colours of brown in the hair that I was going to be working with. I firstly outlined the left eyebrow with the darkest shade of brown, then filled in the eyebrow with mini strokes until it was full. I continued the same steps onto the right side, but used a different set of browns. One of the most difficult parts of this project is what I encountered next in my work, the nose. I first selected the colours I was going to be working with, then I outlined the nose. I had a difficult time figuring out how to shape it, but in the end it worked out. The fourth part of this project I worked on was the lips. I first outlines the bottom lip to begin. I used a total of 10 colours to complete the lips. For the bottom lip, I filled it in with a dark pink-red, then used 2 other colours to give it a vignette look. For the top lip, I used 4 colours to complete the lip. I divided it evenly so that the colour of the lips would gradually get darker as it moved towards the ends of the lips. Next, I completed the skin using a variety of tones. Lastly, I did the hair by making a full colour mask, then adding on highlights to the hair. To add detail, I added the freckles and the bikini outline.
